how to create a Zoom Meeting
Sydney's seminar
Continuing my communication series, today I’m going to talk about Zoom and go over How to Create a Zoom Meeting. In today’s hybrid work world, we’ve all had to become familiar with video meetings. Applications like Teams, Skype, or Zoom are far more commonplace and have proven to be a productive alternative to in-person meetings. But for many of us, creating these meetings can be confusing or frustrating, but it doesn’t have to be!
With this blog, I’ll help you become an expert with Zoom in no time.
Creating A Zoom Account
You may not know this, but signing up for a Zoom account is free and convenient. Depending on your needs, they have plans ranging from $0 to $250+/year/user. For most individuals, the free plan is sufficient, with up to 40-minute meetings that can host up to 100 participants.
To create your free account, head over to Zoom’s website and find the orange button that says ‘Sign up, it’s free’ in the upper right-hand corner of the page. Once you confirm your birth date, the website will walk you through creating an account with the choice to use an email address, Apple, Google, or Facebook account. If you are signing up for a company account, there’s an optional plan called SSO.


Continue to follow the steps on the website, including email verification, until you get logged into your new account.
setting up your profile
Once logged in, it’s time to build a personal profile. From here, go ahead and enter the minimum account information required to set up the account – there’s no point giving more information than absolutely necessary. This is also where you can find your Personal Meeting ID, which is used to create instance meetings, but more on that in a moment.
If you want to integrate Zoom with your Microsoft or Google accounts, scroll to the bottom for ‘Calendar and Contacts Integration.’ Once you authorize Zoom to connect, your account will sync with your Calendar and Contacts to make meetings much easier to set up. Any meeting you create will automatically go to the Calendar app you’re using, and you can send email invites straight from Zoom.
scheduling a meeting
In the upper right-hand corner of the page, Zoom has several meeting options you can choose. To schedule a meeting in the future, click the ‘Schedule’ button. This opens a page where you can name the meeting and choose a time and date. In the duration line, remember that with the free plan, you may only have up to 40-minute meetings.

There are many customization options when scheduling a meeting. You could choose to schedule a recurring meeting by clicking the ‘Recurring meeting’ box under time zone settings. Lower on the screen, you can determine a passcode that users will need to enter to have permission to join the meeting. You can also choose to toggle the user’s video settings on and off depending on the style of meeting you want to conduct. After scheduling a meeting, you’ll be taken to a page where you can create calendar entries for yourself, start the meeting, and invite people. To add the meeting to your calendar, click the Zoom options for Google, Outlook, or Yahoo calendars. This will give you a download file that can be opened in each corresponding app.

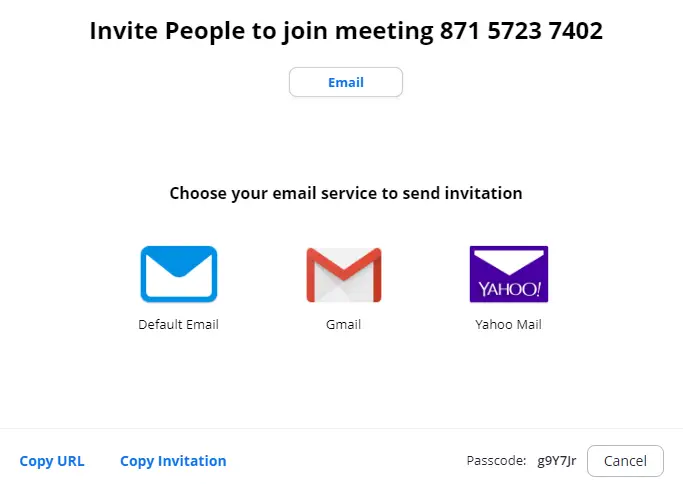
To share the meeting, click ‘Copy Invitation’ and paste the link into an email. But be sure to let your participants know the invite is coming so they don’t mistake it for a phishing email.
Notice that after choosing the options for this meeting, you can save these as a template for creating meetings in the future. Just save the meeting, click ‘Save as Template’ at the bottom of the page, and be sure to name the template before saving to make it easier to find later.
joining a meeting
If someone invites you to a meeting, you will go to Zoom and click ‘Join’ next to the ‘Schedule’ button. Here, you can enter the Meeting ID or Personal Link Name provided by the meeting host.

If you have the Zoom app, at this point, the application will open into the meeting.
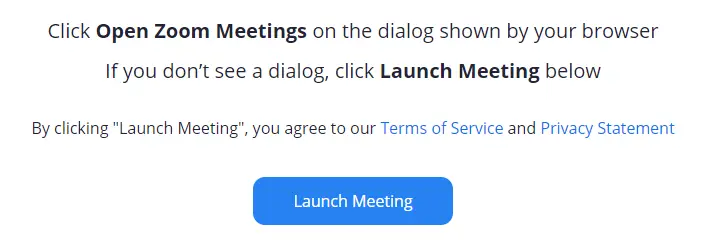
If you don’t have the app, don’t worry, there are two options. You can download the app by clicking ‘Download Now’ or just click on ‘Launch Meeting.’ If you don’t have the app, an option will appear on the screen to allow you to ‘Join from Your Browser.’
hosting a meeting
The last meeting option is to ‘Host’—which is located next to ‘Schedule’ and ‘Join.’ When you hover over the heading, you’ll see three options: With Video Off, With Video On, and Screen Share Only. These options allow you to immediately create a meeting as a host. You can choose ‘With Video Off’ to have an audio-only meeting, ‘With Video On’ to have a standard virtual meeting, and ‘Screen Share Only’ to share your screen with participants while communicating only with audio.
Do note that when you host a meeting, you will not have any other participants at first. To have others join, click the ‘Participants’ button on the menu at the bottom of the screen. A pop-up will appear, and at the bottom of the pop-up, click the ‘Invite’ button.
Zoom gives you multiple options for inviting participants. You can send via email with the appropriate button or by clicking ‘Copy URL’ and pasting that into an email sent manually. Users will need a passcode to get into the meeting, which you should copy and paste into a separate email to keep your meeting secure.
That’s all there is to it—with this How-To blog and a little practice, you too can be a Zoom expert. If you have any questions or would like additional training in Zoom, please contact CLARK at [email protected] or give us a call at 301-456-6931 for a free quote.


Being raised by Clark’s owner, Darren, I have always been immersed in the world of technology. However, I have always followed it from a distance. I went to college to get my degree in Business Finance and Applied Economics, as I have always been a fan of research and statistics. I was even lucky enough to get my senior thesis in economics published. My next string of luck was getting a job straight out of college as a Researcher in Richmond, VA. I was able to pursue research and publish dozens of news articles in my field. Now, I am so excited to delve back into the world of technology that I was raised in, and look forward to honing my research in the technological field.

